
The Basics
Six quick steps to get your first campaign out the door.
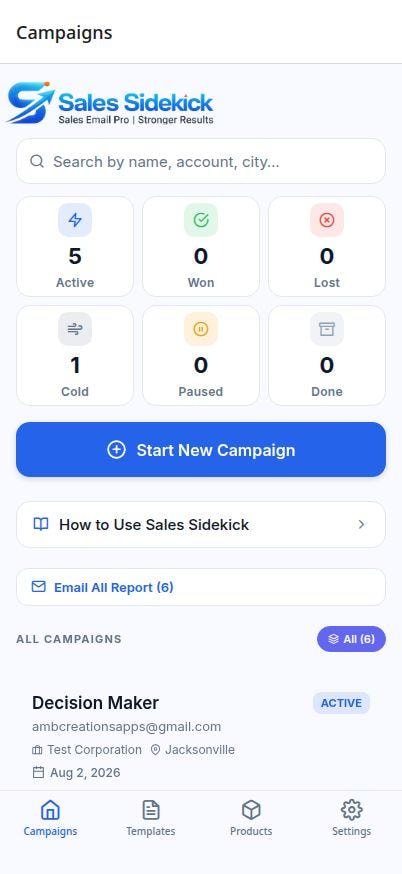
Your dashboard
This is the Campaigns tab — your home screen. It shows a live count of Active, Won, Lost, and Done deals, plus a list of every campaign you've started. Tap "Start New Campaign" any time to follow up with a new contact.
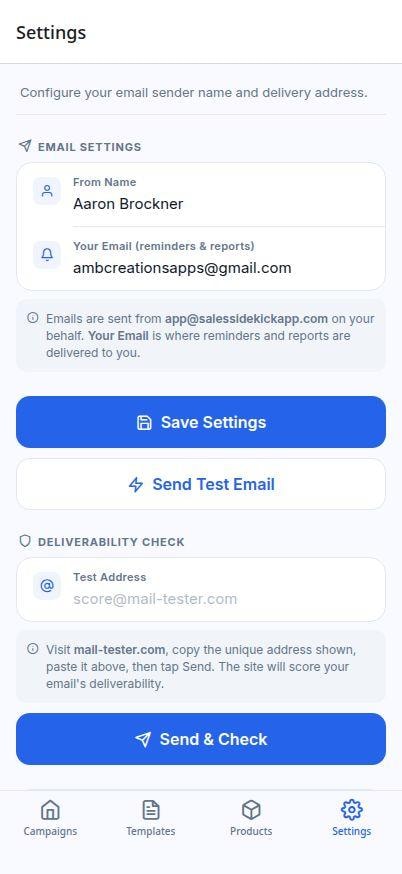
Set up your sender details (Settings)
Tap the Settings tab and enter two things: your name and your personal email address. Your name shows up in the 'From' field so contacts know who the email is from. Your email address is only used to deliver Reminder notifications to you — it is never shared with contacts. All campaign emails are sent automatically from [email protected]. No SMTP setup, no app passwords, no IT department needed.
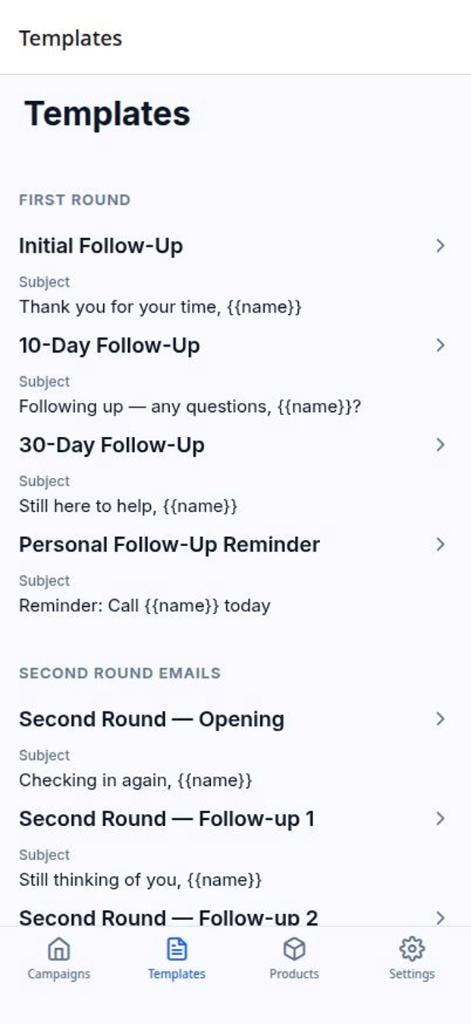
Set up your email templates (Templates)
Tap Templates to write your seven follow-up messages. The First Round section has four templates: Initial Email, Follow-up 1, Follow-up 2, and a Reminder. The Second Round Emails section has three more: Opening, Follow-up 1, and Follow-up 2. Use {{name}} to insert the contact's name and {{email}} for their address — they get swapped out automatically when each email is sent.
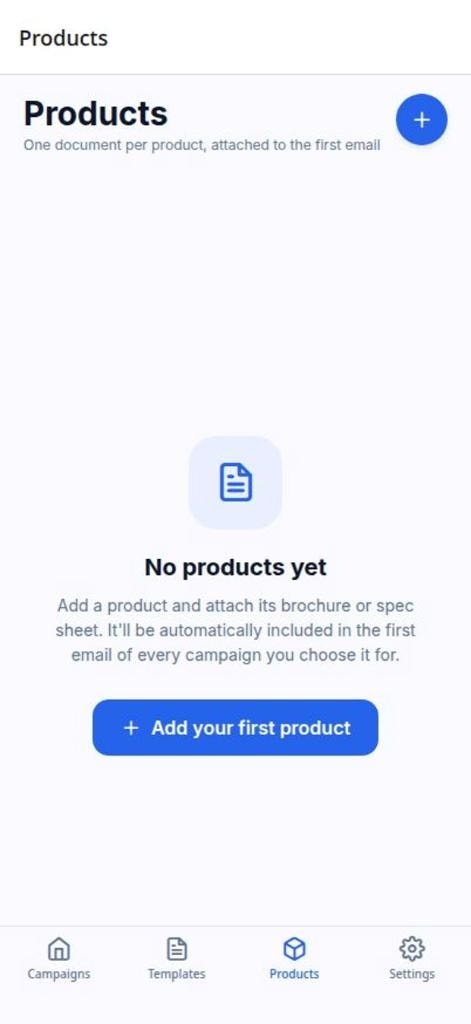
Add product attachments (Products)
Tap Products to create your product categories and upload a PDF or file for each. When you start a campaign you can tick which products to attach to the initial email.
Files you upload are stored in a shared cloud database. Do not upload confidential, sensitive, or internal-use-only documents.
Start a campaign
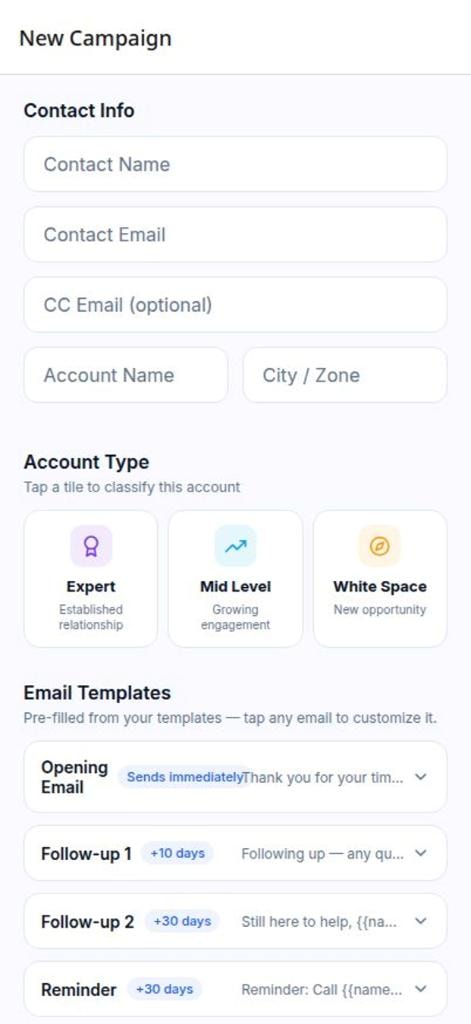
Tap 'Start New Campaign' on the home screen. Fill in your contact's name, email, optional CC address, company, and when to send the first email. You can also customise any email's subject or body for this specific contact — tap an email card to expand it. Choose the account type, set your follow-up timing, select product attachments, and tap 'Schedule Campaign'.
Track progress
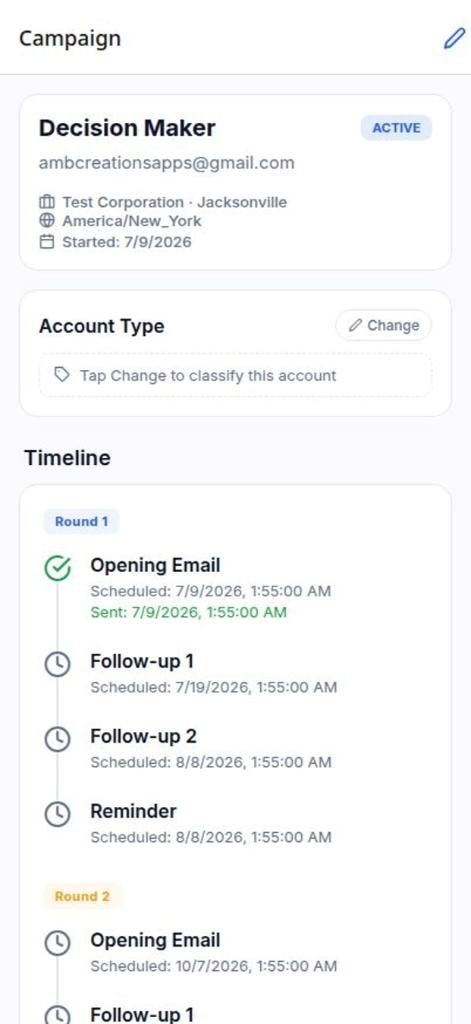
Tap any campaign to see its full timeline — every email, sent or scheduled, across both rounds. Mark the deal "Closed Won" or "Closed Lost" once it's decided, or edit the details any time with the pencil icon.
Want the full breakdown of every feature, email sequence, and setup option?
Ready to try it yourself?